Expert’s Guide to Ham – A Deep Dive Into Curing Methods
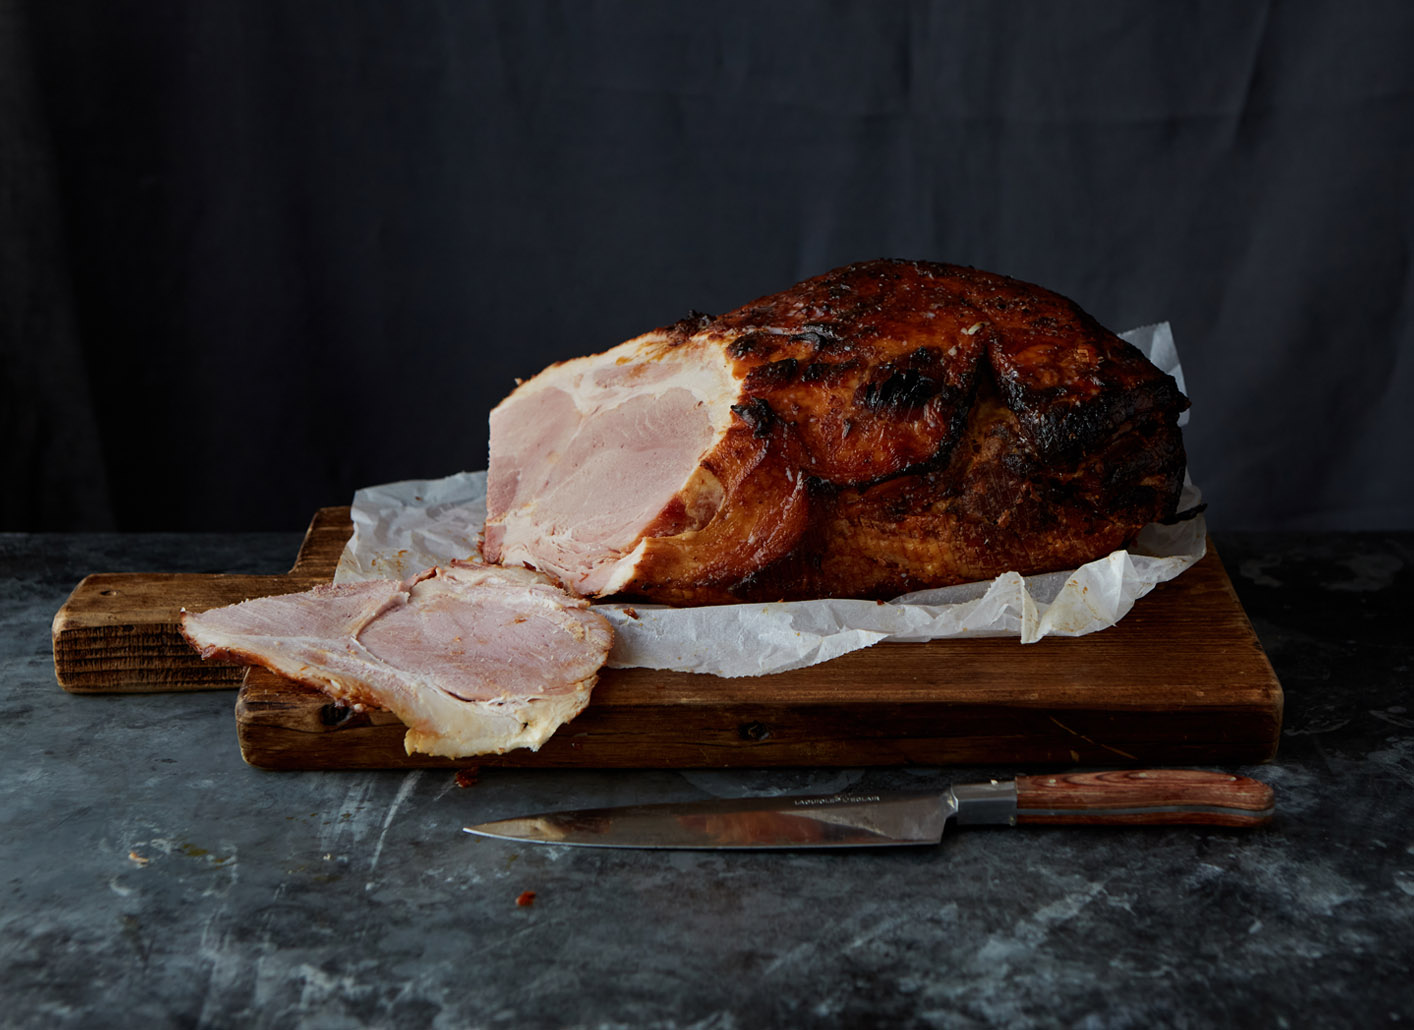
No fridge is complete without a decent ham, whether at Christmas time or for summer picnics. From hot ham on Christmas Eve with greens and parsley sauce, to cold cuts with pickles on Boxing Day, to a well-filled sandwich on soft white bread with plenty of butter.
This article explains all the work that goes into making a Ginger Pig ham so special, as well as guidance on how to cure a ham at home; if you’d like to have a go at making your own ham from scratch, read our guides on how to cook a gammon and how to glaze a ham.
RARE BREEDS
A few passionate farmers have kept traditional breeds alive in the UK, whose wonderful individual characteristics and slow-rear farming methods are not only better in terms of stewardship, but provide a really fabulous flavour to the meat, too. Although these traditional pigs are becoming more popular now, because of their rarity, the gene pool is far smaller than it 100 years ago, which has its challenges. By carefully crossing breeds – a process known as ‘hybrid vigour’ – our farmers are able to increase both litter sizes and the strength of the piglets.
Each breed has its own special quality that is important to the resulting quality of your meat. Some have long backs to make excellent bacon, others produce the best roasting cuts; some have wide, strong rumps for fine ham, others have a meat-to-fat ratio that makes fantastic sausages, pies or charcuterie. Preserving this variety is what enables us to give the very best offering in our shops.
WHY DO WE CURE OUR HAMS?
Modern preservation methods can sometimes remove the soul of the raw ingredient. Traditional methods such as curing, storing fat and bottling retain all of the wonderful characteristics our farmers work so hard to deliver.
What is curing?
Curing is a form of dehydration, using the deliquescent properties of salt to draw moisture from food; water – along with warmth, oxygen and time – being the catalyst for bacteria and degradation. Although it is possible to cure meat with just salt, the usual practice is to add nitrates and sugar too. The former to keep an attractive colour, the latter to soften the harshness of the salt and allow you to use a little less of it. This method is known as dry-curing, but there is another method – wet-curing (also known as brining).
After chemically removing the moisture using a natural cure, meat needs to be hung to allow it to ‘set’, to dry a little and firm up enough to slice. Years ago, hams and sides of bacon were hung from ropes strung from the ceilings of pantries and kitchens.
How to cure ham at home – Basic principles of curing and preserving ham
- Use the freshest meat you can get – preferably within 36 hours of slaughter.
- Size is everything – the large the piece of meat, the longer and stronger the cure needs to be. The cure must completely penetrate the meat in order to draw out the moisture and preserve the flesh.
- Balance is also key – too much salt in the curing mix can produce too firm a texture and too harsh a taste; too little and the meat will spoil. Ten percent is a reliable ratio for the home cook.
- Keep cool and consistent – curing is a chemical reaction, so excess heat or changes in temperature will affect this reaction. The meat and its cure are best kept in a cool, dryish place, such as a well-insulated garage, shed or cellar.
- Fat is good – without a decent covering of fat, cured meat won’t ‘set’ properly when it is hung. It is the fat that offers structure and support, with the meat remaining relatively soft and therefore difficult to handle and slice.
- Cure in a non-reactive container – such as large plastic, enamel or porcelain box or dish. Materials like aluminium, copper and cast iron are reactive, meaning that they have properties that may react chemically with an ingredient, therefore tainting the finished dish.
- Smoking does not act as a preservative – while it aids the process of drying the finished product, it is used mainly to flavour.
HOW TO CURE HAM AT HOME – THE GINGER PIG WAY

Leg of pork, taken from the hindquarter of the animal, is a plentiful cut. Although it makes a decent roast, it pales in comparison to shoulder, belly and loin, whereas in its cured form it really begins to shine.
Although we use a dry cure for our bacon, we use a wet cure – submersing the meat in a brine bath – for our ham. A whole leg is a big joint and requires a lot of salt, and a lot of time in it, in order for the cure to penetrate right to the bone. If the penetration is incomplete, the flesh near the bone will spoil and you’ll lose the whole lot. Loins and bellies, being long and fat, cure much faster than legs; a ham simply becomes very salty if dry-cured for the time required.
Refrigeration makes it possible to use less salt in the curing process, as keeping the meat chilled will extend it’s shelf life by a good while. This has done great things for the flavour and texture of British ham, one of the few aspects of modernisation that has improved the ham and bacon we eat.
Submerging the pork leg in a wet cure or brine uses much less salt than a dry salt rub, and allows the salt to penetrate the meat more evenly. This process, somewhat counter-intuitively, still functions as a drying method, drawing out moisture while allowing salt in. It’s only when pork is injected with saline solution that it holds the liquid. Some producers do this to increase the weight and therefore the profit margin, speed up production and give a longer shelf life, but the end result is watery and flavourless.
We like to use legs from smallish pigs weighting around 85kg, which result in finished hams of around 7-8kg. We feel that these slightly smaller legs achieve the right balance between size, salt required and the curing times that the ham produced is neither too small nor too salty.
Our team brine the legs for a week, transfer them into a fresh brine for a further 4-6 days to finish the cure. The cured hams are then gently simmered in water (around 20 mins per lb or 450g) until cooked. After that, the meat can be cooled for slicing, or eaten hot.
HOW TO MAKE HAM AT HOME
If you’d like to skip the curing but still make your own ham at home, we recommend starting with one of our cured gammons. A gammon is simply the raw pork leg joint, pre-cured and ready to bake then glaze for a perfect homemade ham.
All you will need to do is cook the gammon first, then glaze your baked ham and slice.
Photography by Kristin Perers.